SIP Profile
Setup Config SIP Profile
Introduction
In simple terms, you can think of SIP Profile as a way to group a lot of users together. These users will have common features and services to use when they log in with the SIP Profile.
For example, there is a call center with 100 agents and an operator too. The operator might need some extra features than the agents. The feature might include listening to the calls or dialling certain numbers with the agents who aren't allowed to. Thus, the operator might want to have a different SIP Profile.
When someone logs into the Web Phone, they log in through their SIP Profile. They log in with the SIP User Authentication.
Steps to setup the SIP Profile
-
Go to Setup Config SIP Profile and you will see a screen as shown below. Then click the
+button.
-
A window will appear after you click on the
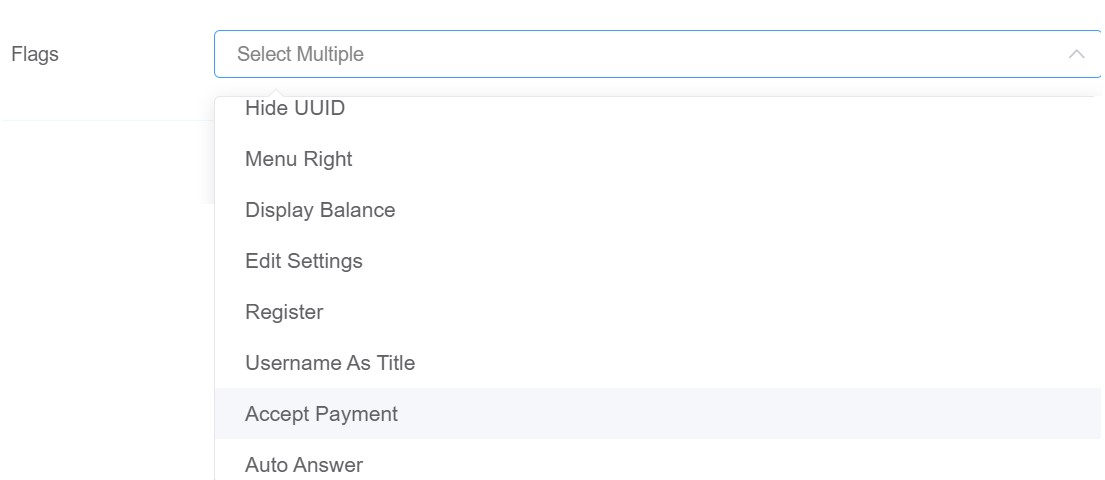
+button. It will let you create a new SIP Profile. As you can see, the window has 3 fields for setting up the SIP Profile.
2.1 Name: This is a required field that will display your SIP Profile's name.
2.2 Profile Capacity: This field enables you to add the number of people who can use this profile to access the features.
2.3 Flags: This field allows you to select one or multiple features that the user can access.

-
Click on
Saveto create a new profile.